
Games
Joystick Modding: Hori Fighting Stick SS
I love me some joysticks. I’ve got a large collection of the silly things, and I like to poke at their guts, tinker with the setup, and swap parts when the urge strikes.
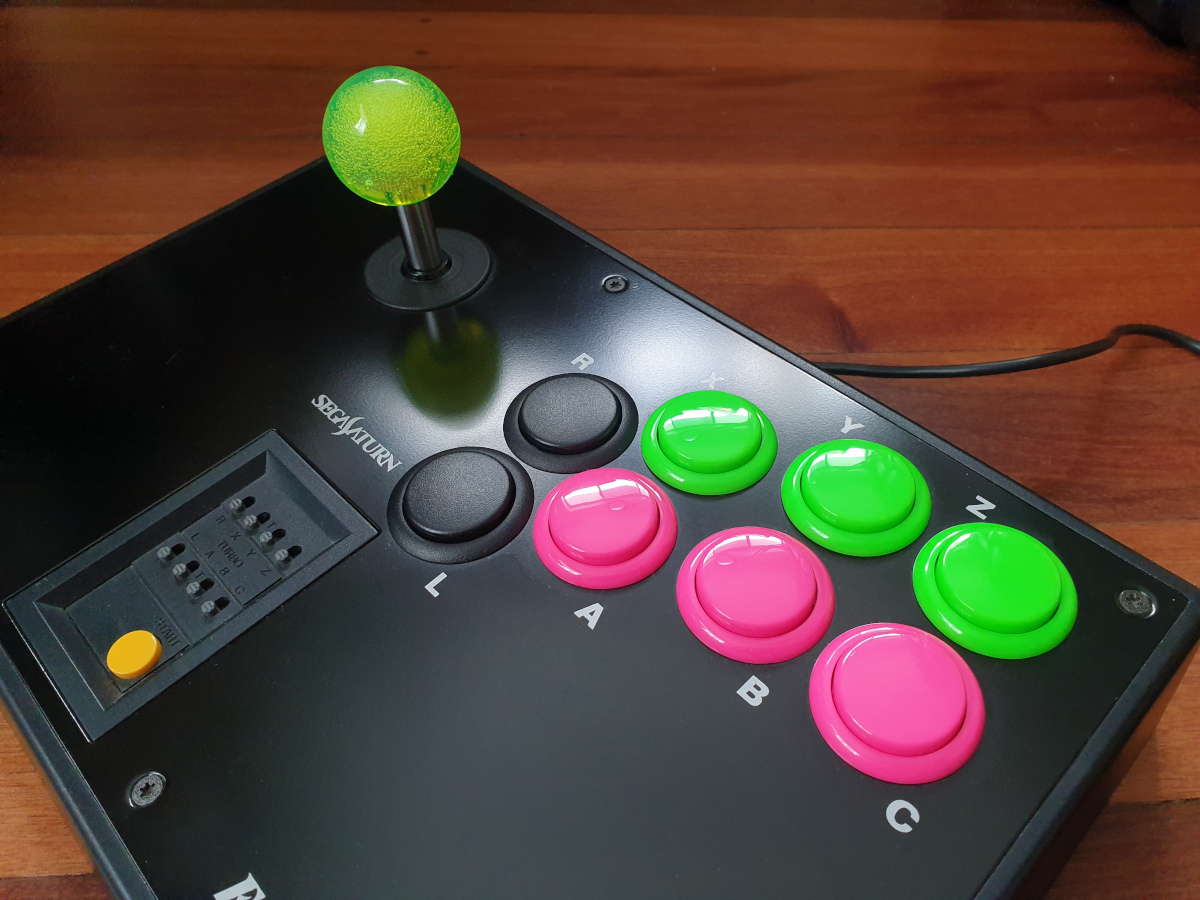
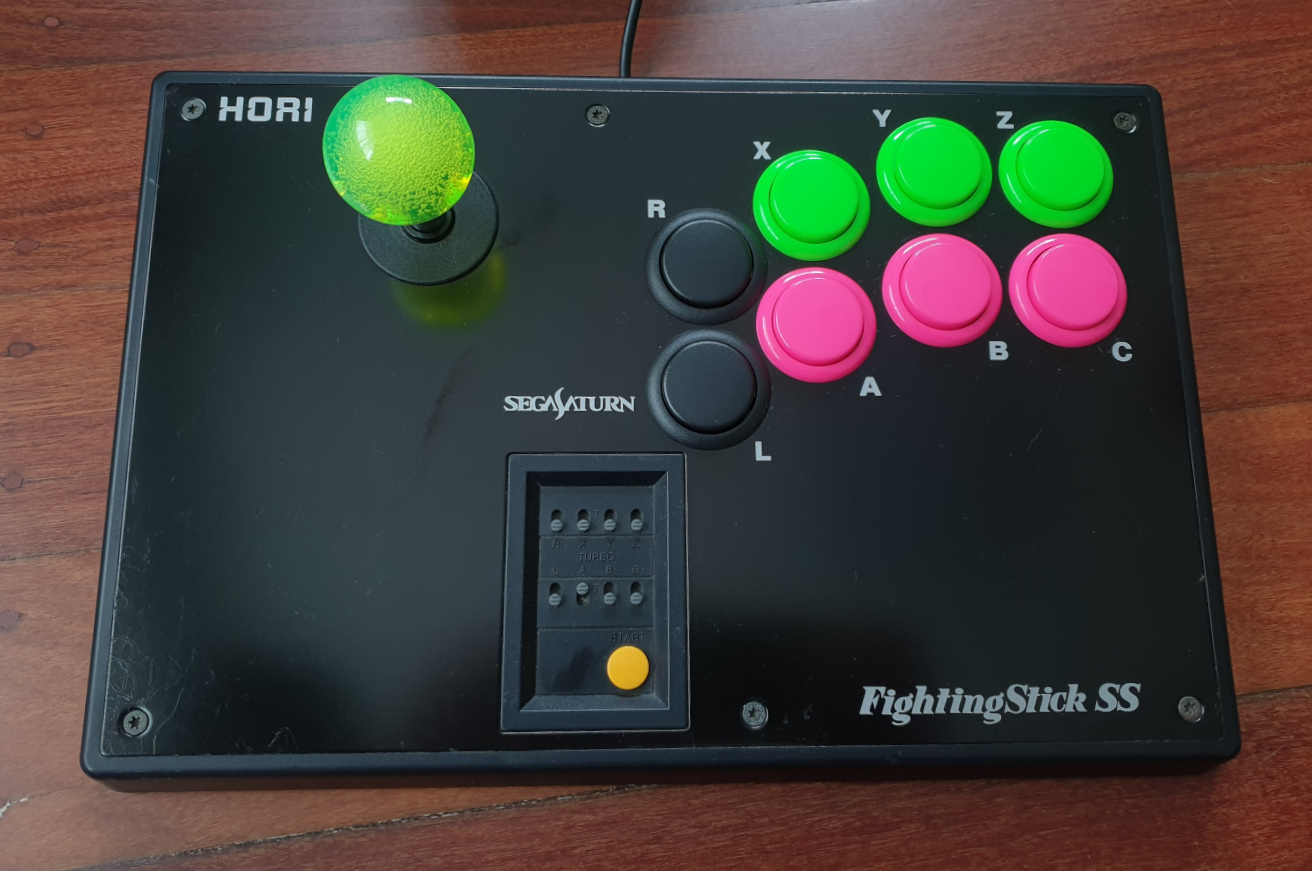
The Hori Fighting Stick SS (1994)
And last night it struck. I wanted to play with Seimitsu’s new SELS-70X stick, which I bought months ago and haven’t given a proper flog yet. Because it’s such a small mech, I went with a small stick, the Hori Fighting Stick SS. It’s an 8-button Sega Saturn stick released in 1994, with a removeable metal top plate as well as the bottom plate.
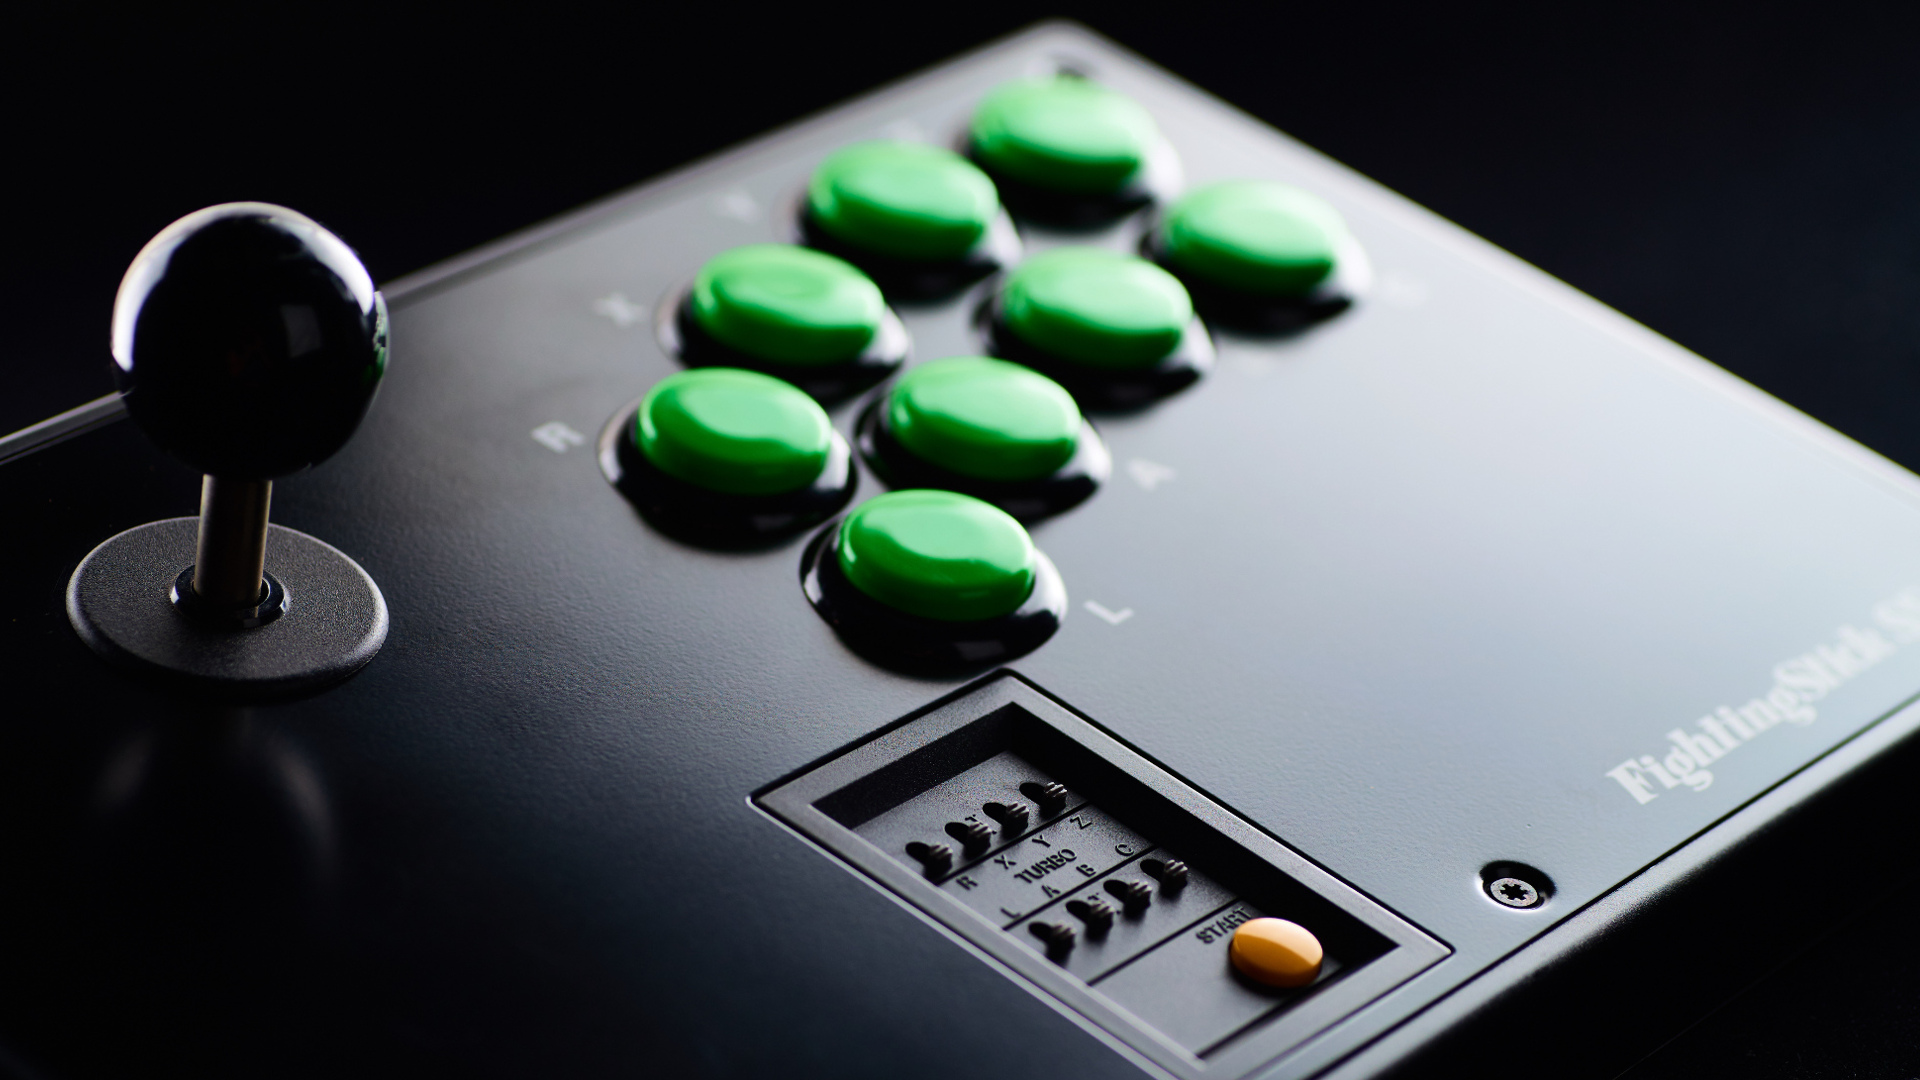
The modified Hori Fighting Stick SS (2024)
And this is useful because I didn’t want to put screws through the top in order to mount the stick. While the one it came with was a bottom mounted device, most arcade replacements are mounted from the top. Being able to remove the top panel meant the new holes and screws I installed would remain invisible.
The SELS-70x joystick uses a simple four-hole mount, so I used the arcade plate it was hanging from as a guide, to draw perfectly spaced holes on the plastic. Drill some small pilot holes, then use a large bit to create some counter-sunk bevels, so the screws would be low enough for the metal plate to sit flush.

It’s off centre, I know. But it’s flush.
The Fighting Stick SS is a very, very slim stick, and the original buttons mounted to a PCB, taking very little space. The new buttons were gathered from leftover parts, and were shorter than normal arcade buttons. This turned out to be important. With ~20mm connectors hanging beneath each button to connect the wiring, space was tight.
The two black buttons are Hori’s Hayabusa/Kuro units, which are only a little taller than the six Seimitsu Keikou ones. Still, the one closest to the player had to have its pins bent quite a lot to fit.

It was a tight fit, but it worked.
I used a cheap Amazon-sourced encoder, and just left the USB cable hanging out the back through the existing hole. I did not want to modify the case to fit a removeable USB socket. The inside is a mess of wires but it’s secure. I don’t expect this configuration to be permanent, and may swap out parts or move the encoder to a new deck, so permanently affixing the little board seemed unnecessary. And it doesn’t move around the way it is, so I’m not worried about it.
The only part of the project that I’m not super confident about is the start button. There are two pins on the internal PCB where the start button is mounted, and I just hooked up the encoder’s FastOn connectors to those pins. Luckily they’re fairly snug, and the base of the stick holds them in place so they don’t have much risk of coming off.
The Stick
--NFG
[ Jul 9 2024 ]
| Next Post | Navigation | Previous Post |
|---|


Name:
Email:
Website: