
Games
Fixing a Neo Geo MVS Board
I recently picked up an arcade cabinet and so I was pulling all my arcade games out of storage. I was somewhat surprised to find that some of them didn’t work right anymore, including my Neo Geo MV-1F board. The battery had leaked and eaten away at a small part of the board. Most of the damage looked cosmetic, but I was getting sound glitches. In Pulstar, sounds were wrong, occasionally missing, sometimes swapped or just… off. Samurai Shodown III was almost completely silent, except for an occasional grunt or bang.
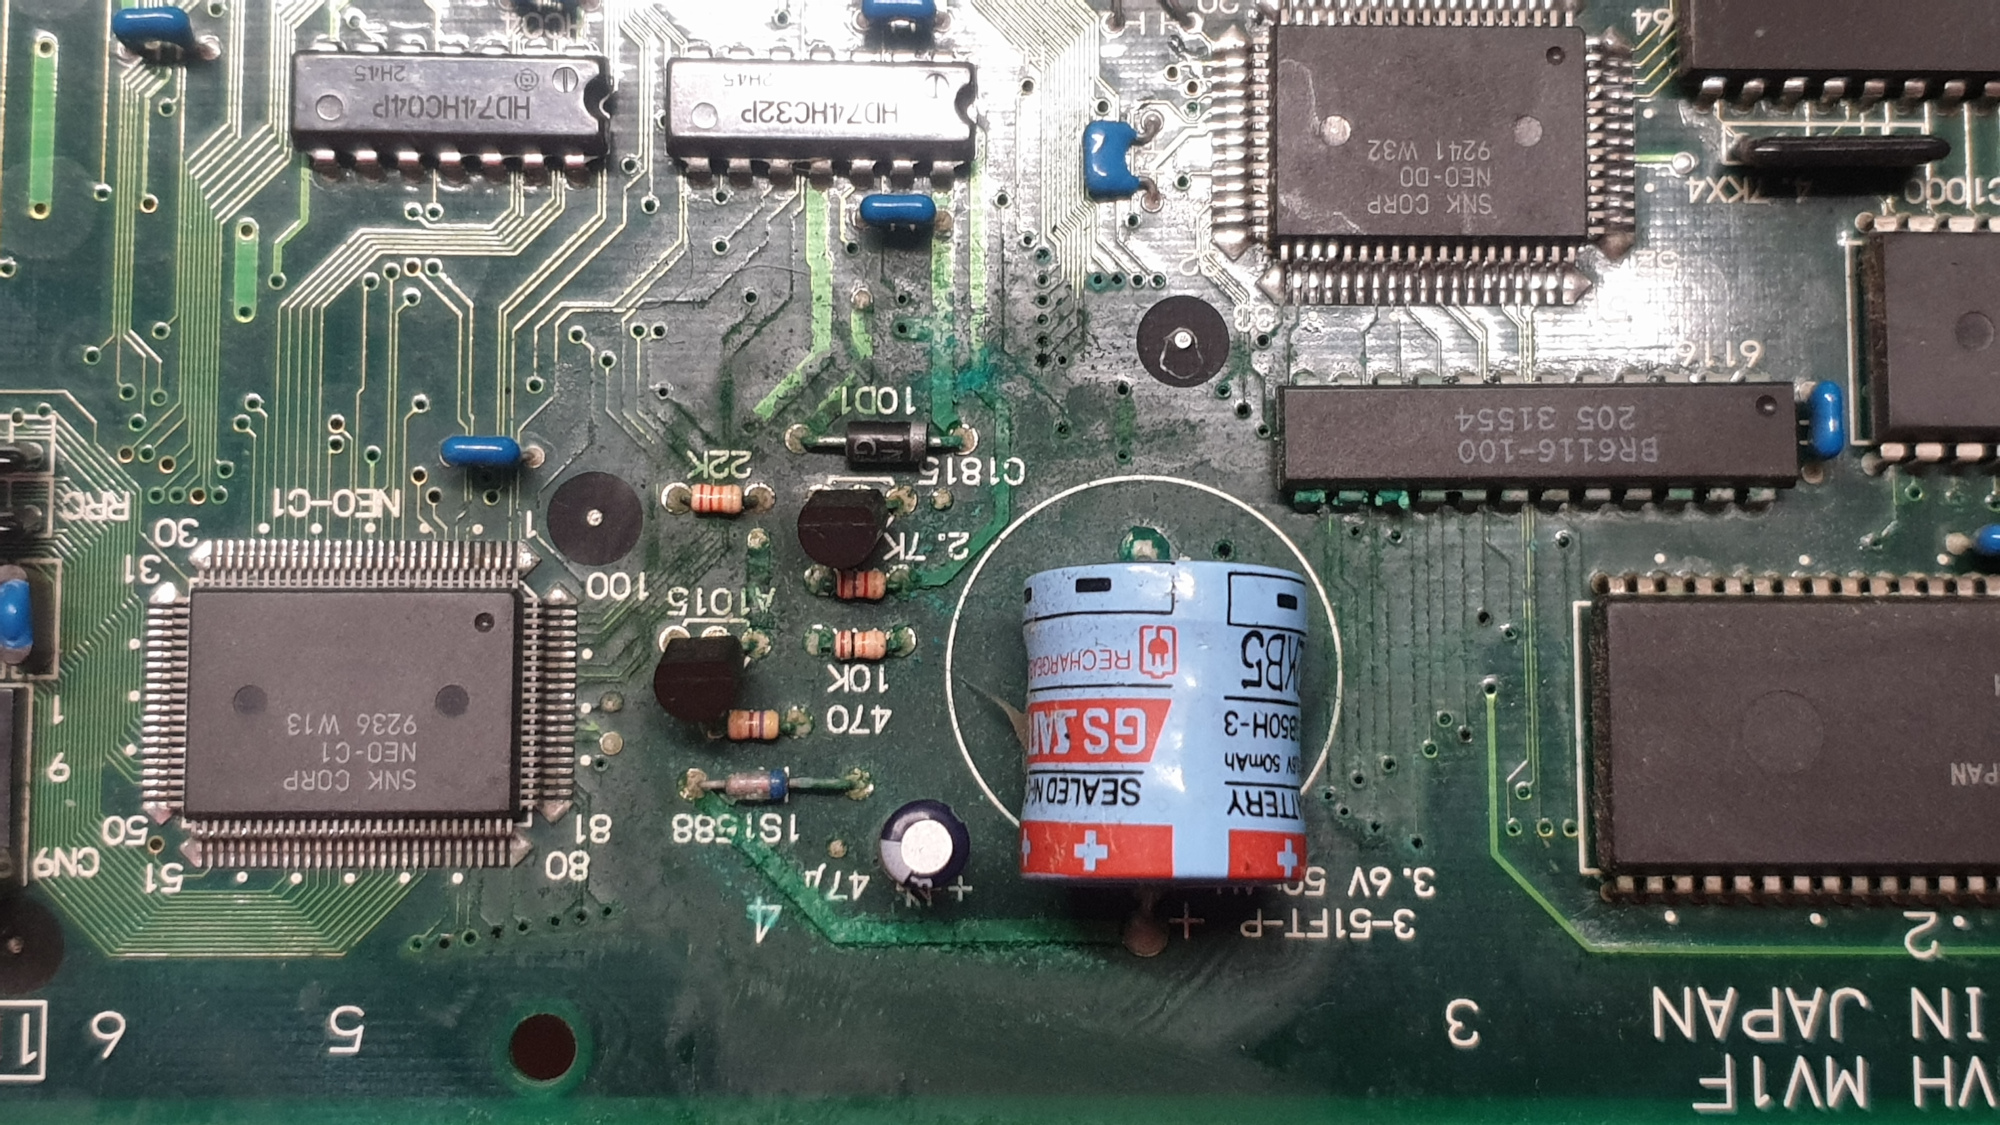
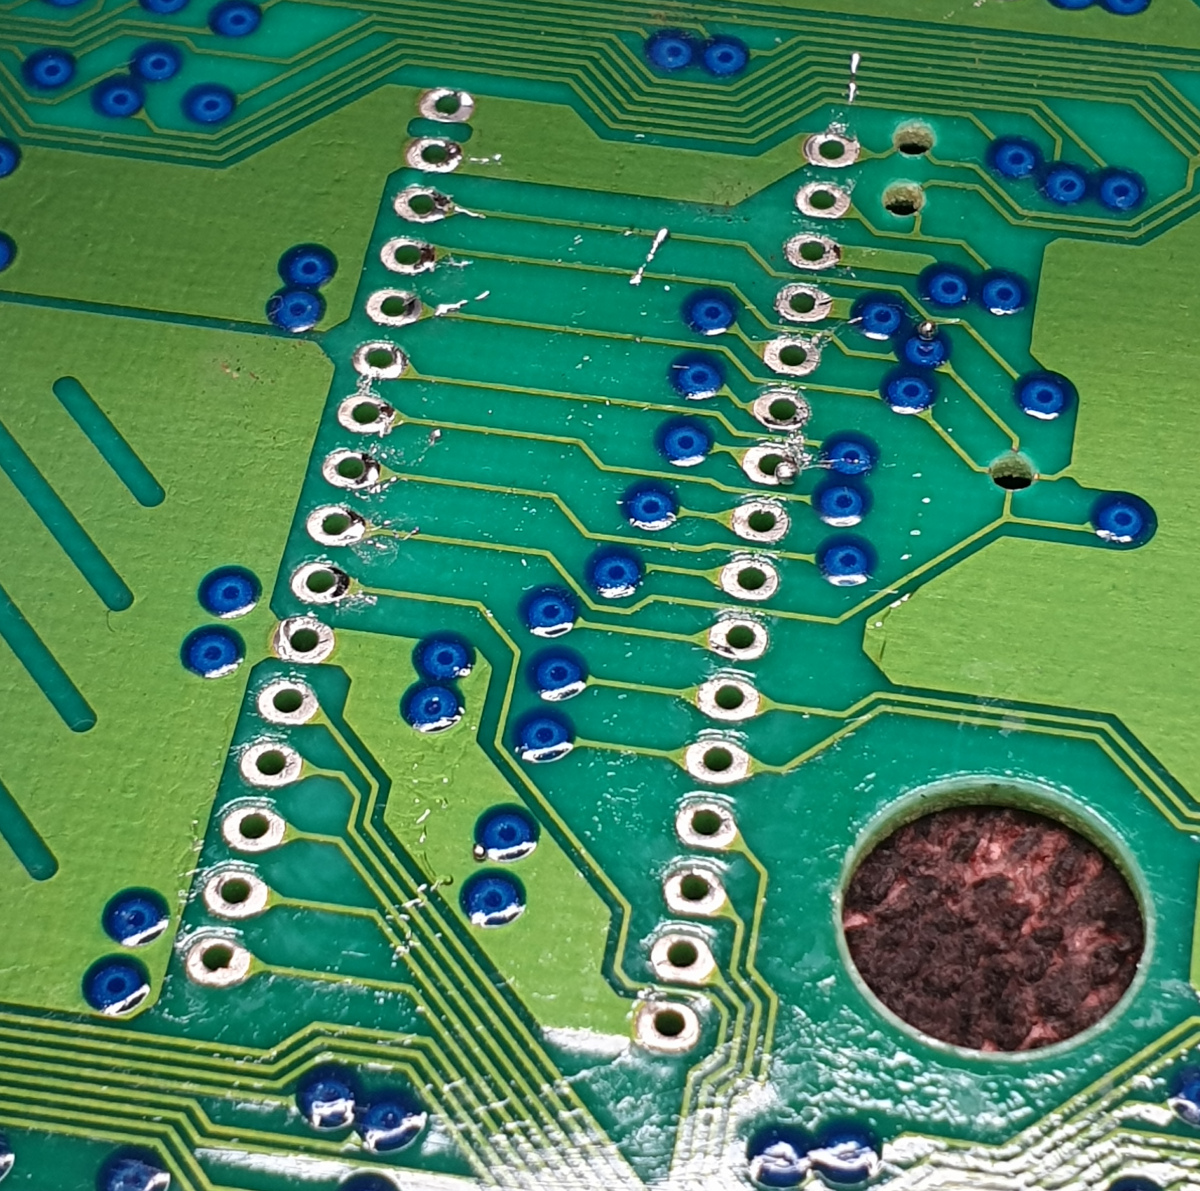
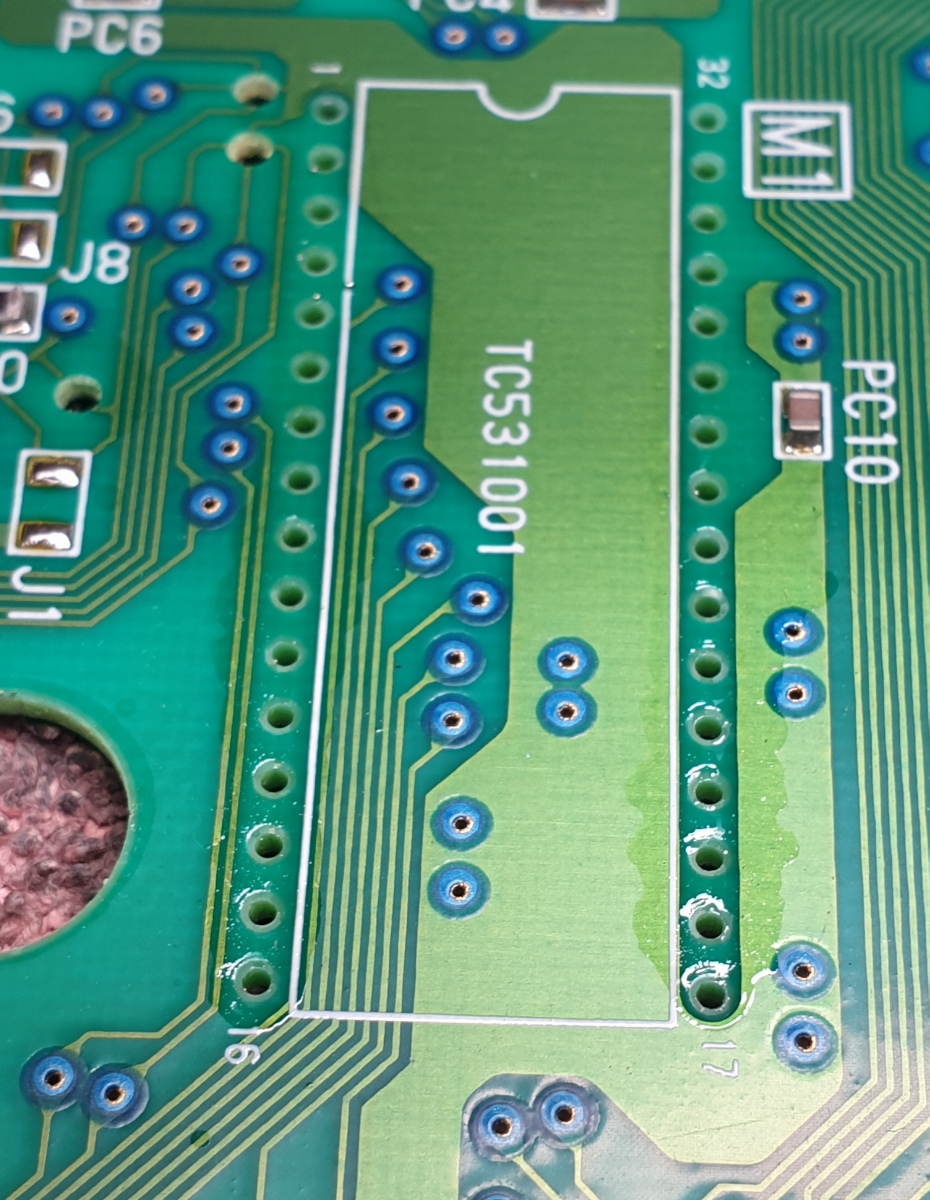
The damage didn’t look too extensive…

I mean, it wasn’t great…
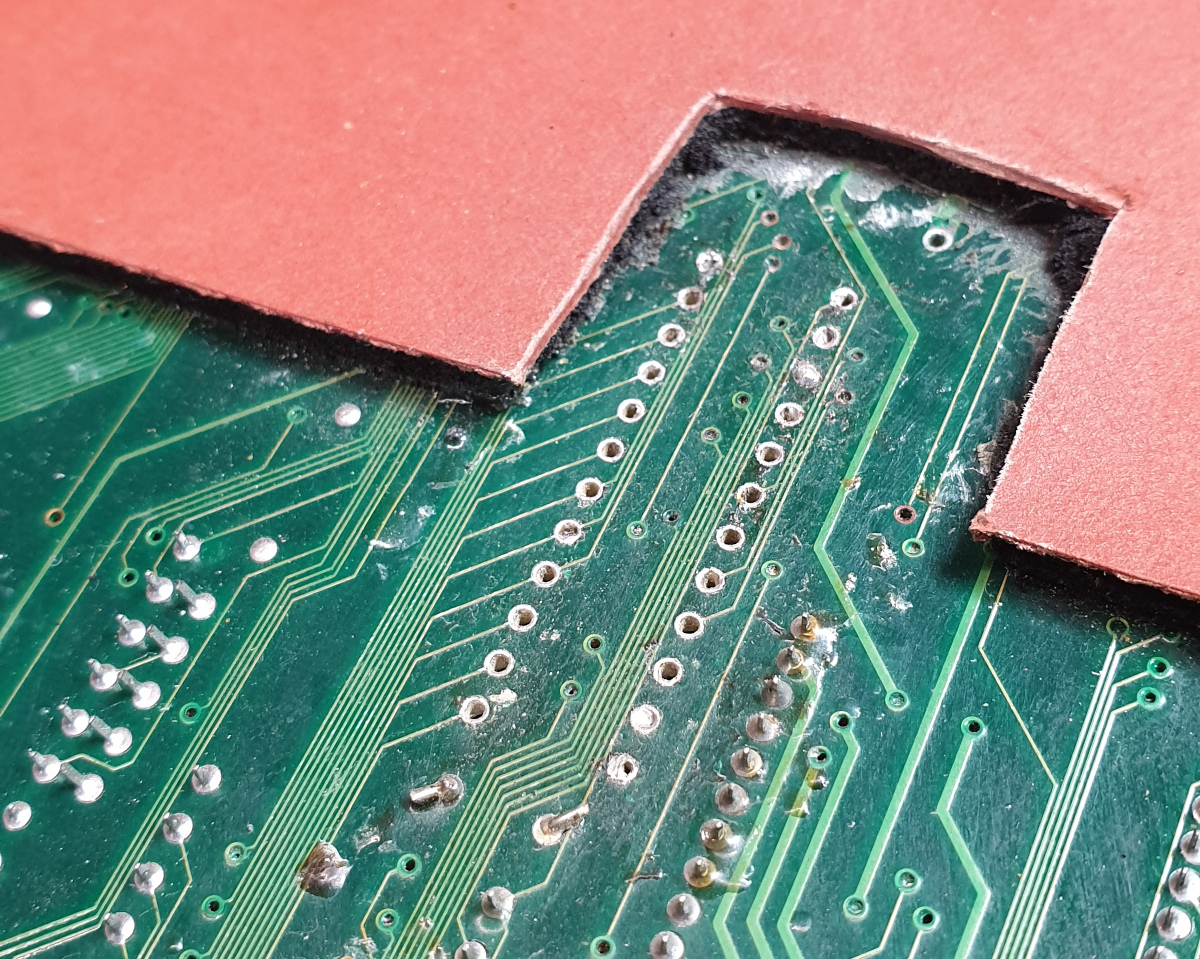
The first thing I did was hit the internet for information about neutralizing the leftover battery acid. I whipped up a batch of baking soda paste, spread it around liberally, and gave it some time to work before rinsing it all off. I also used isopropyl alcohol to remove the glued-on foam pad underneath the PCB, in case acid had seeped into it and created a corrosive little cushion which would haunt me forever. This part sucked, and took ages.
Next, I popped on over to the forums at neo-geo.com, where it was suggested that the RAM chip looked to need replacing. In hindsight I don’t think this was ever a problem, and I inflicted a lot of abuse to the board (and the sacrificial Neo AES home system) trying to remove and replace the RAM chip. I bought a hot air rework station, and had to really crank up the temps to make it work. Whatever damage was done by the battery I surely made worse with the heat. All of the damage I had to repair was located between the battery and RAM chip so it’s impossible to say how much damage was done by which source.
Once the chip was removed, I started tracing things with a multimeter.
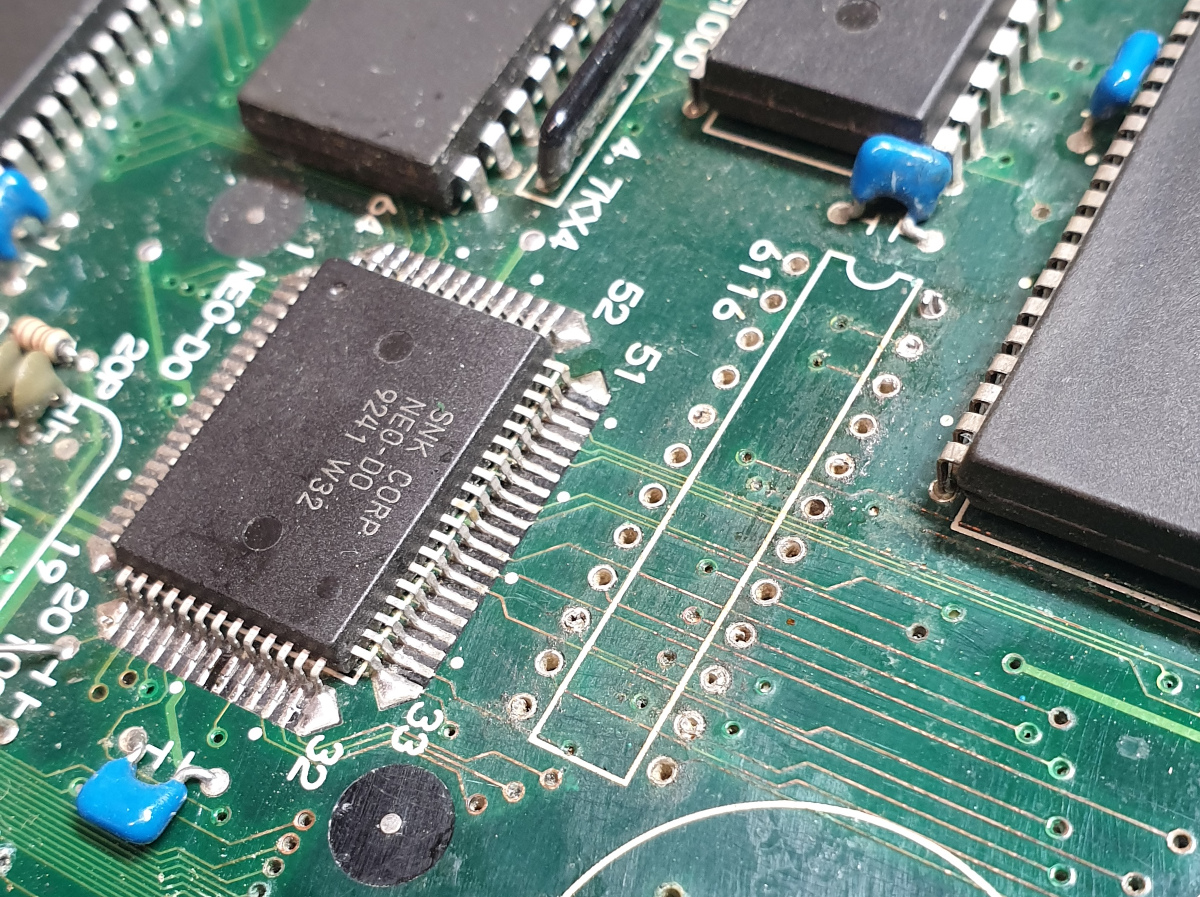
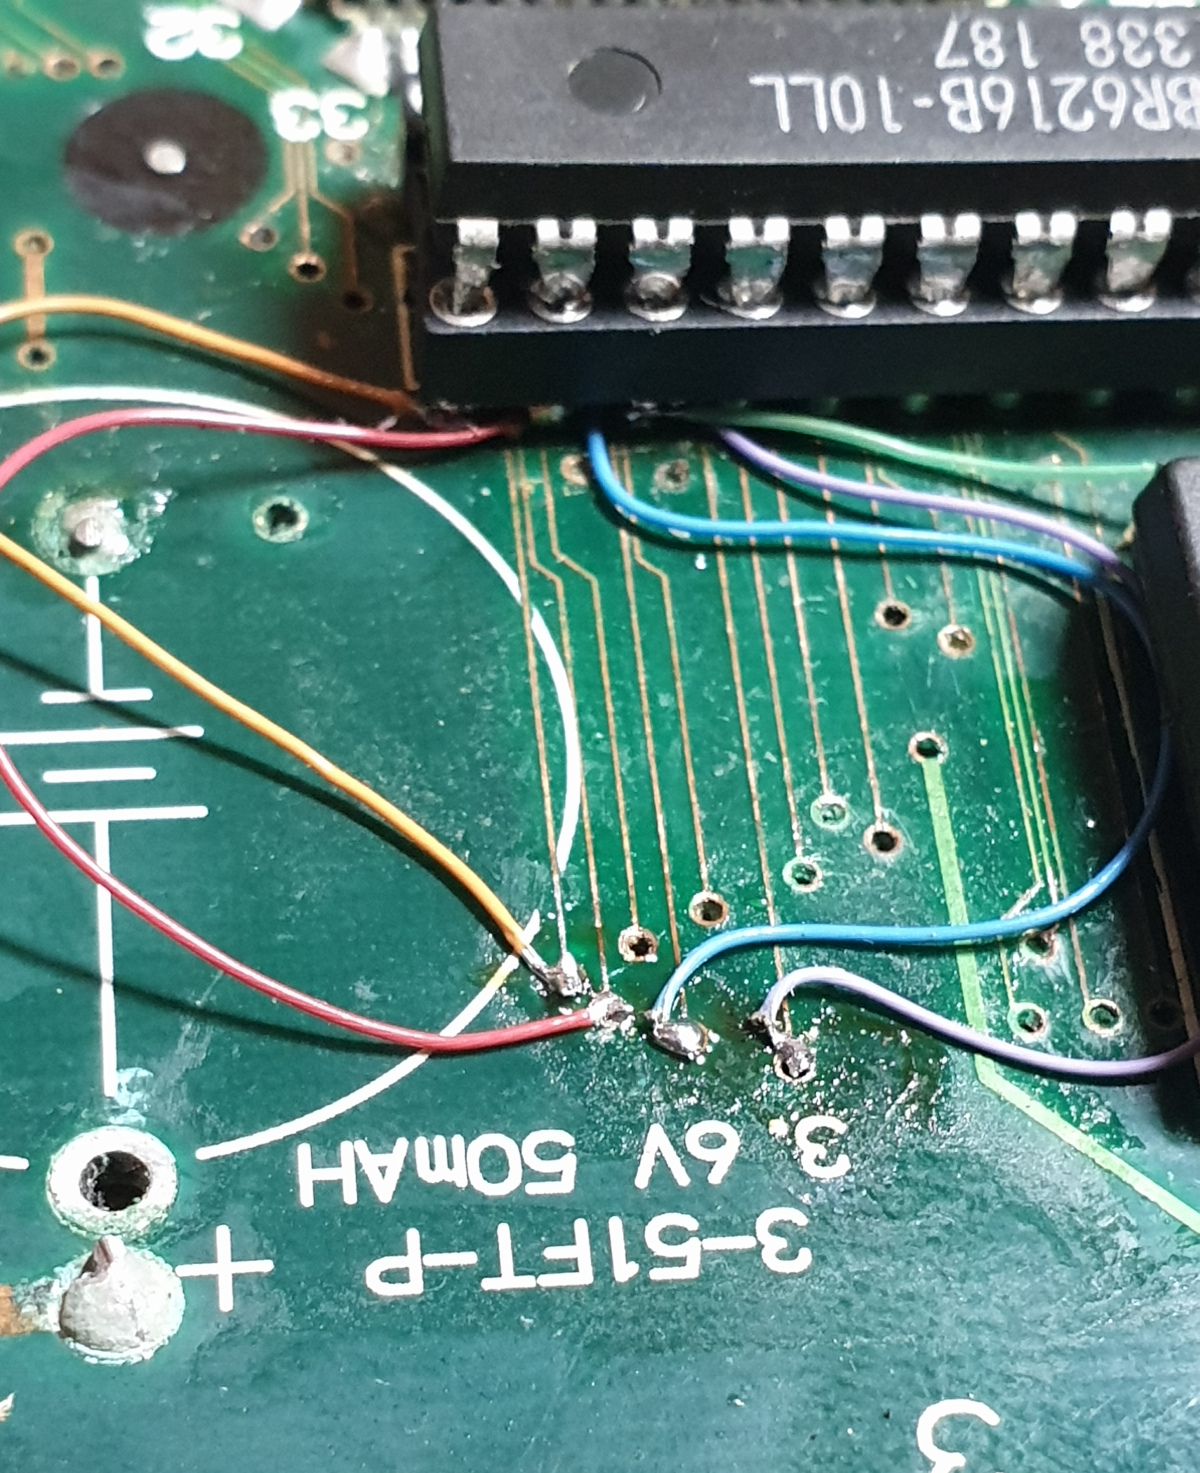
Five of the traces from the RAM chip were bad, so I needed to bridge the broken parts with wire.

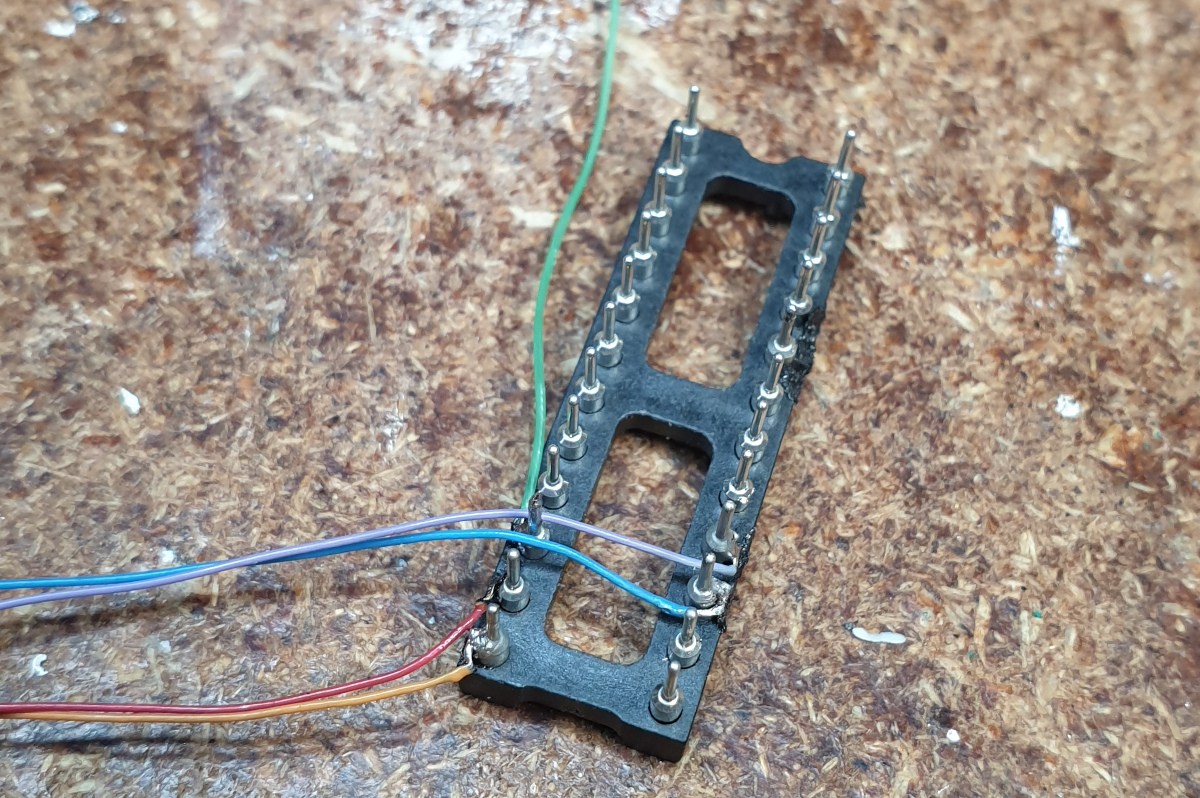
I ordered a new socket for the RAM chip, and soldered wires to the legs of it. While this worked, it is much more difficult to add wires later if needed (ooh foreshadowing) or fix them if they broke off. Once installed, I connected them to their appropriate destinations on the board, and the SM1 ROM.
But after all this effort, the board still didn’t work right. The sounds were still bad. So I found some schematics on the Neo Geo Dev Wiki, and tested everything in the sound section. I checked every data, address and control line between the Z80 and the RAM chip, the SM1 sound ROM, and the Yamaha YM6210 sound chip. Everything tested fine. I checked every single control line between the Z80 and the NEO-C1 chip, which sat between the Z80 and 68000. No problems at all.
The particularly attentive amongst you might notice something there I didn’t test…
Someone on the neo-geo.com forums suggested the diagnostic BIOS, which I hadn’t heard of. This was a two-chip diagnostic, one replaced the main Neo Geo BIOS and tested everything the 68000 could see, and the other would be installed on a game cartridge and would test the second CPU, the Z80. Replacing the BIOS was easy, it was already socketed from the factory and I had already installed an EPROM in there with Razoola’s UniBIOS. A quick erase and reprogram, and the diag BIOS was ready…
And it found no errors. Which meant that I needed to yank a chip out of a perfectly good game cartridge, and I only had two of those. I chose SamSho III, because it was a game I could live without. I really do like Pulstar so didn’t want to wreck it. But the hot air station made short work of the chip removal and subsequent socket installation. I completed the whole process in about five minutes.
A quick bash with the old EPROM burner and I had a new M1 chip for the Z80, and it reported… problems. First I used an old version of the diagnostic BIOS, but it wasn’t super conclusive, so again with advice from the forums I found and burned a newer version, which was… similarly inconclusive. Between the two it became obvious that the Z80 and X68000 weren’t talking to each other. Specifically, the 68000 first tried to select slot 1 (which was irrelevant on a 1-slot board) and failed, then tried to launch the Z80 program stored on the diagnostic chip I put in the game cartridge, which also failed.
According to the documentation with the older version of the diagnostic BIOS:
Z80 isn’t receiving the expected data from the 68k communication I/O port. Most likely an issue with the Z80 data bus or control signal trace to the chips that control the port (NEO-C1, NEO-D0).
Z80 D0~D7 → NEO-C1 SD0~SD7
Z80 IORQ (20) → NEO-D0 IORQ (37)
NEO-D0 SDZ80R (41), SDZ80W (43) → NEO-C1 SDZ80R (84), SDZ80W (85)
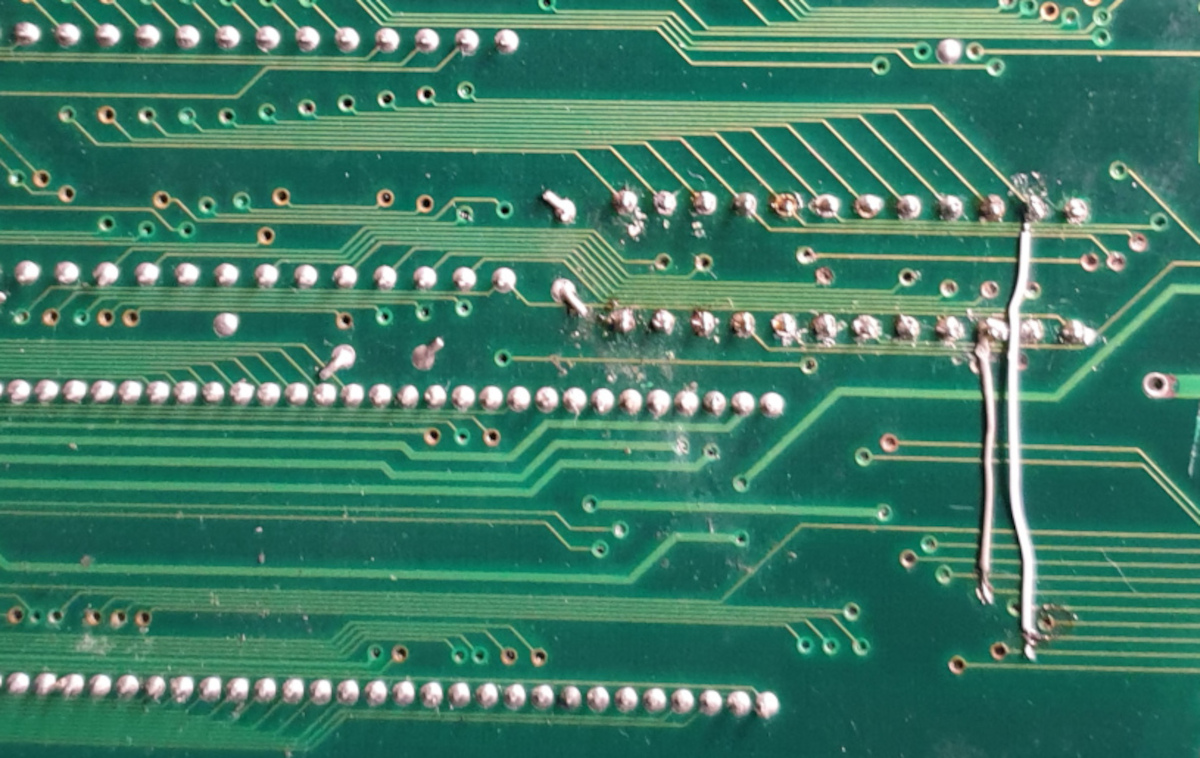
What this means is there’s likely a problem between the two chips that control the data flow between the 68000 main processor and the Z80 sound processor, called NEO-DO and NEO-C1. Specifcally, the 8 data lines (D0 – D7) and the supporting signals. The numbers in brackets are the pin numbers on the respective chips. So I checked them. The control lines were OK, but oooh OK there are two more dead data lines right where I fixed the first five.
Since I’d already attached wires to and installed the socket, I added the new wiring to the bottom of the PCB.
After that, the diagnostics ran without a complaint, and I put the old BIOS and M1 sound ROM back where they came from, and the system came back to life with no errors.
It took a couple of weeks all up, between ordering parts, asking for advice and so on, but it totally worked. Even with the cost of the hot air station it was less money to repair than it would be to replace the board, by a significant amount.
Very happy. ^__^
--NFG
[ Nov 12 2022 ]
| Next Post | Navigation | Previous Post |
|---|


Name:
Email:
Website: